Client List and Management
The Clients section in Healthie serves as your central hub for managing all client accounts within your organization. This is where you can view, organize, and take action on your entire client base.
In this article:
Accessing Your Client List
Navigate to the "Clients" tab from your left-hand navigation menu. Your client list displays all active clients by default, with options to view archived clients and client groups.
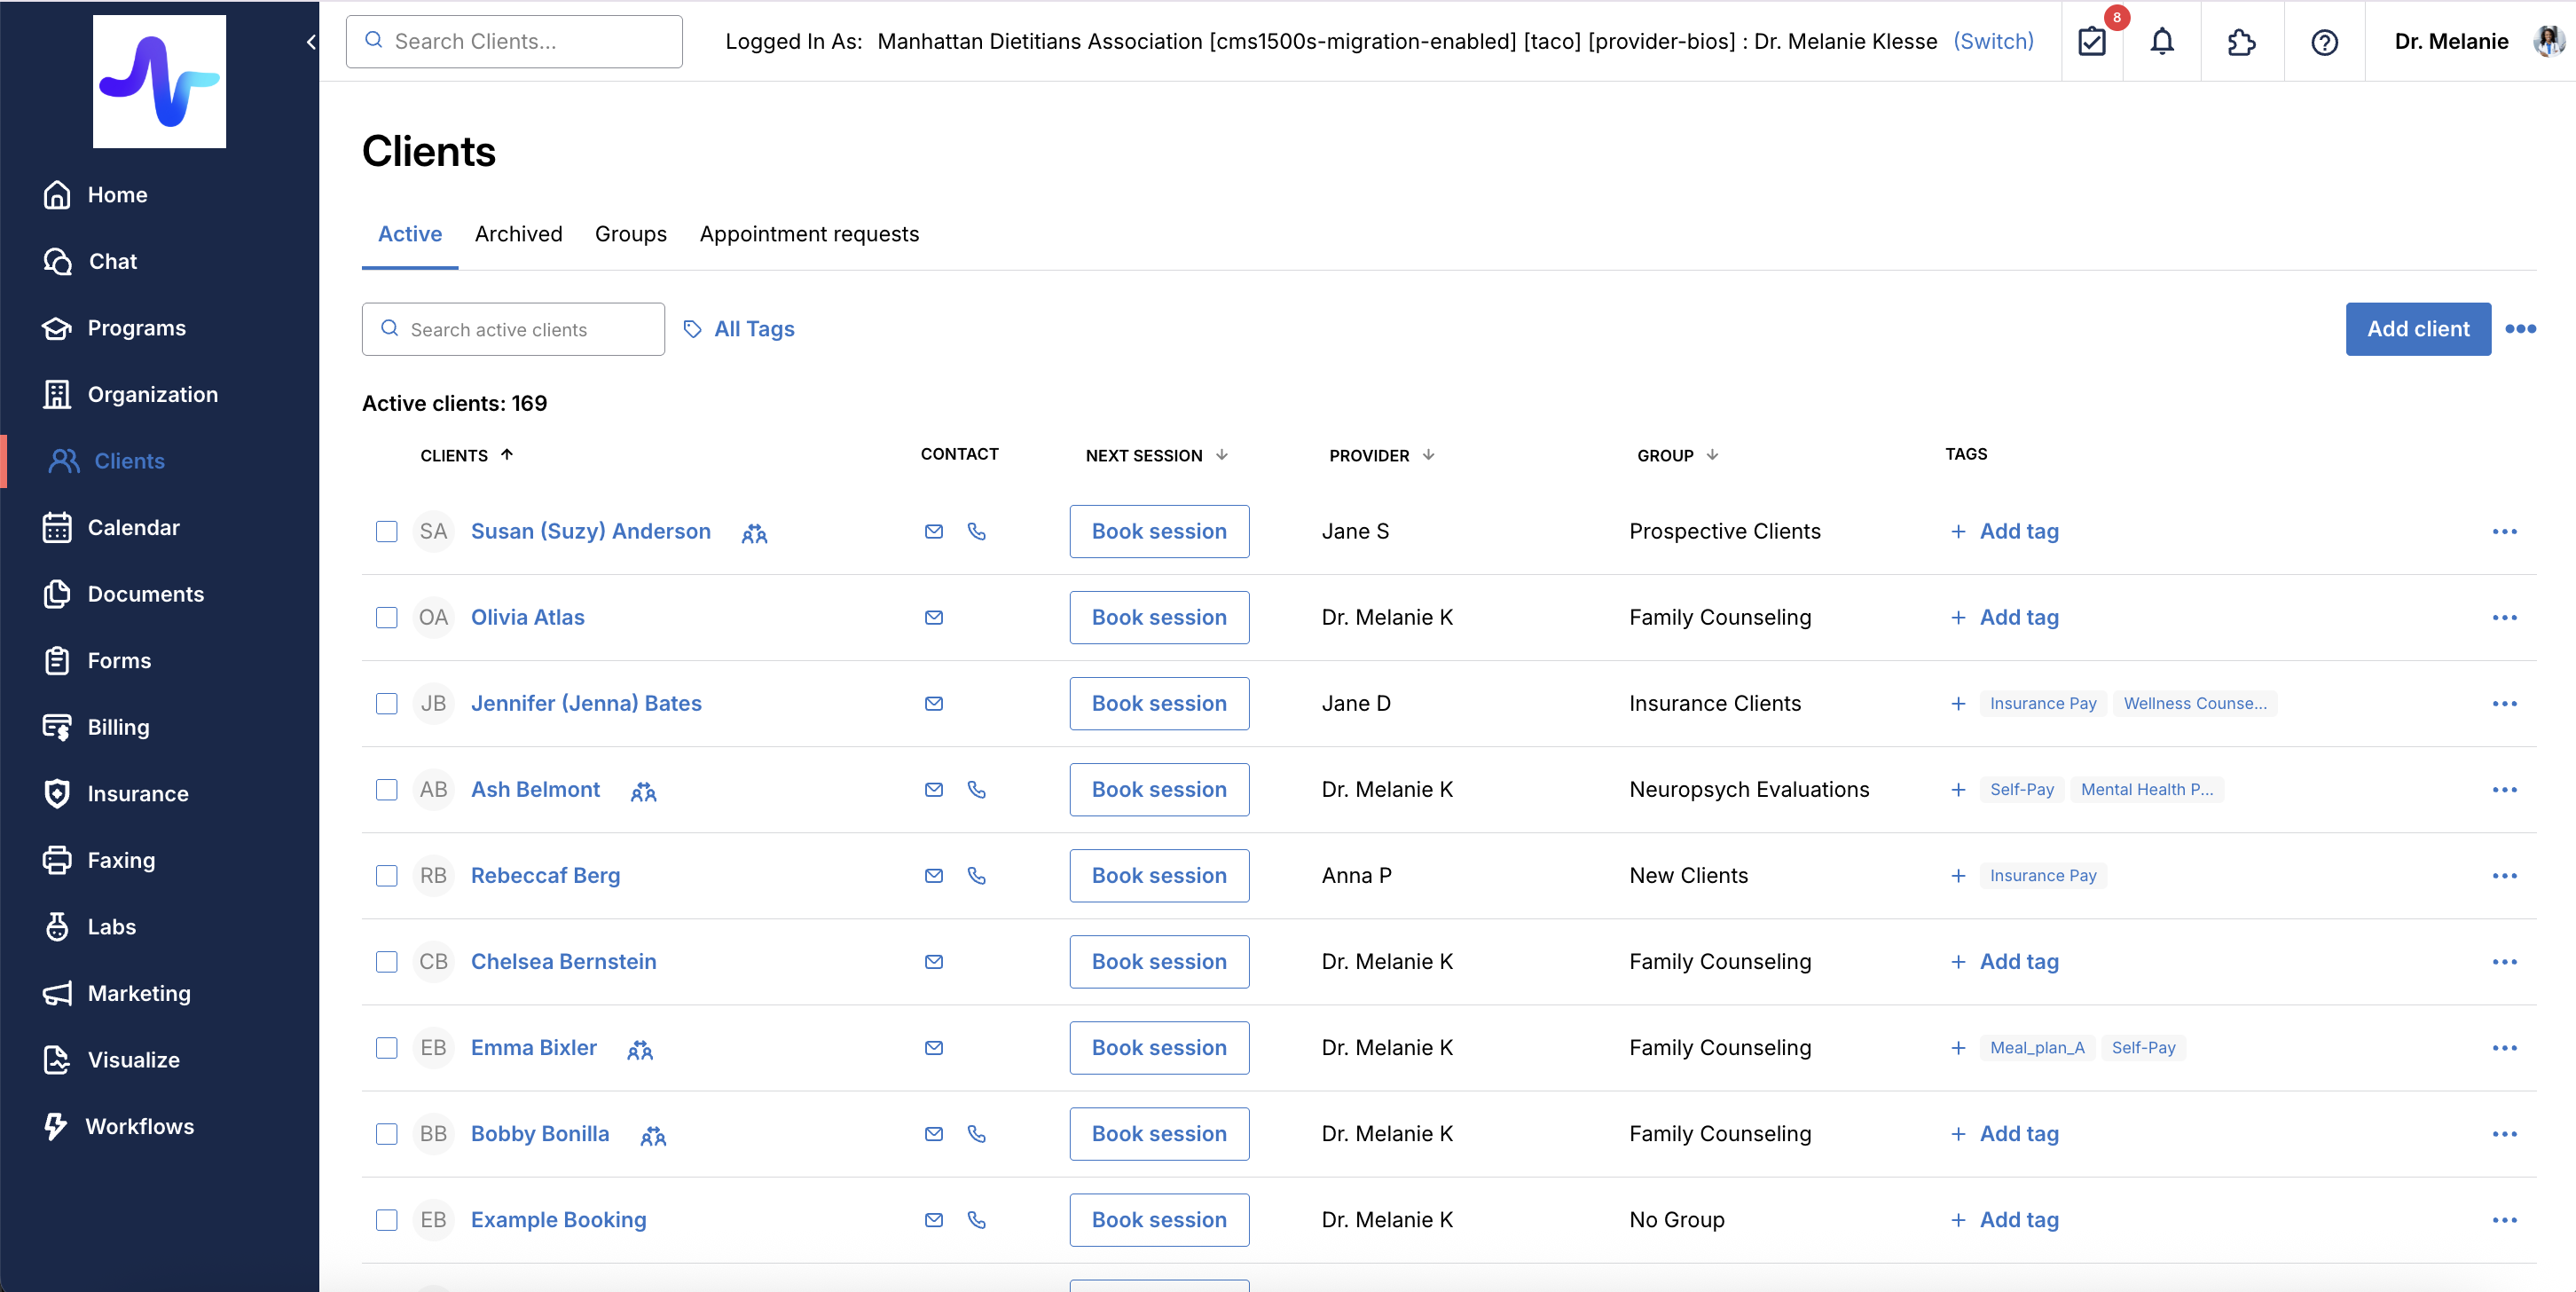
Your client list displays key information at a glance:
- Client name
- Assigned provider
- Client group
- Contact information
- Account status (active or archived)
- Client tags
You can sort and filter your list to quickly find specific clients or view clients by various criteria. Use the search bar at the top to search for clients by name or email.
Understanding Client Statuses
Active Clients: Clients you're currently working with who can book appointments, receive documents, participate in chats, and access all enabled features. Clients become active when you manually add them, they book an appointment, or purchase a package through your booking link. Clients can be added to your list of active clients in three ways:
1. You can manually add clients
2. Clients are added automatically when they book an appointment
3. When clients purchase a package for the first time through your booking link.
Learn more about inviting clients to Healthie.
Archived Clients: Clients you're no longer actively working with. They don't count toward your active client limit but their files remain viewable in the "Archived" tab. If the prevent inactive access setting is enabled for your organization, these clients will be locked from logging in and receiving outbound emails. You can restore them to active status anytime. Learn more about archiving and unarchiving clients.
Client Groups
Organize clients to customize their experience with specific intake forms, documents, message blasts, and appointment types. Each client can belong to one group at a time. Learn more about client groups.
Bulk Management Actions
Healthie enables you to take action on multiple clients at once, saving you time on administrative tasks:
- Navigate to your Clients list
- Check the box next to each client you'd like to include
- A menu bar will appear at the bottom of your screen with available actions
Available Bulk Actions:
- Archive: Move multiple clients to your archived list at once. A side panel will display details about selected clients, including any remaining credits or money owed.
- Change Group: Update the assigned group for multiple clients simultaneously. When clients move to a new group, they'll be prompted to complete any new intake forms associated with that group.
- Add Care Team Members: Associate additional providers with multiple clients at once. This is helpful for coordinated care across your organization.
- Merge: Consolidate duplicate client accounts. Note that both accounts must be active to merge, and you can only merge two accounts at a time.
Learn more about changing client groups and Care Teams.
Client Actions
Click on any client's name to access their full profile, where you can:
- View and update personal information
- Book appointments
- Send messages
- Create charting notes
- Share documents
- Request form completion
- View billing history and create invoices
- And much more
Alternatively, click the actions button (three dots) next to a client's name in the list view for quick access to common actions. Learn more about the Client Profile.
Permissions and Visibility
If you are part of a group practice or organization, your ability to view and manage clients depends on your team member permissions. By default, you can see clients you're assigned to as their primary provider or as a Care Team member. Organization admins can enable the "Can search across all clients in the organization" permission to allow team members to view all clients within the organization.
Learn more about team member permissions.