Optimizing Clinical Workflows with Healthie
Healthie is designed to help providers automate and streamline workflows, saving organizations and providers time on administrative work. Additionally, Healthie serves as a place for providers and clients to connect, share information, and work together.
Here are examples of common clinical workflows we have seen practices utilize on the Healthie platform.
Patient Registration Flow
Whether the patient is coming for an in-person or telehealth visit, the care coordinator or assistant can manually register the new patient into Healthie. This involves collecting basic demographic information, insurance details, and medical history.
To manually register a new patient into the Healthie platform, this is done under the Client’s tab > Add Client.
Learn More: Overview: Inviting a client to Healthie

Charting Flows
Healthie’s Charting feature allows providers to create custom note templates, and to tie charting notes to appointments.
Best practice when it comes to charting, is to click the ‘Not Written’ link from within the appointment details. This ensures the correct note is linked to the correct appointment. This is done by selecting the scheduled appointment on the Calendar > Not Written.
Learn More: Chart note written/not written feature.

Clicking the Not Written option will then display a modal, prompting you to select a charting note type for this session, and you can (optionally) give your charting note a name.

As an aside, building and using custom charting templates is a great way to save time charting. A different template can be created for different service types, or session type (ie. initial consult or follow-up). Charting notes can also be set to pre-fill from the previous note, which will automatically populate the charting note on subsequent encounters (for providers to edit and review prior to saving).
Another flow for creating a charting note, is to start a new note from directly within the client’s profile:
- Client’s profile > Charting
- Create Chart Note
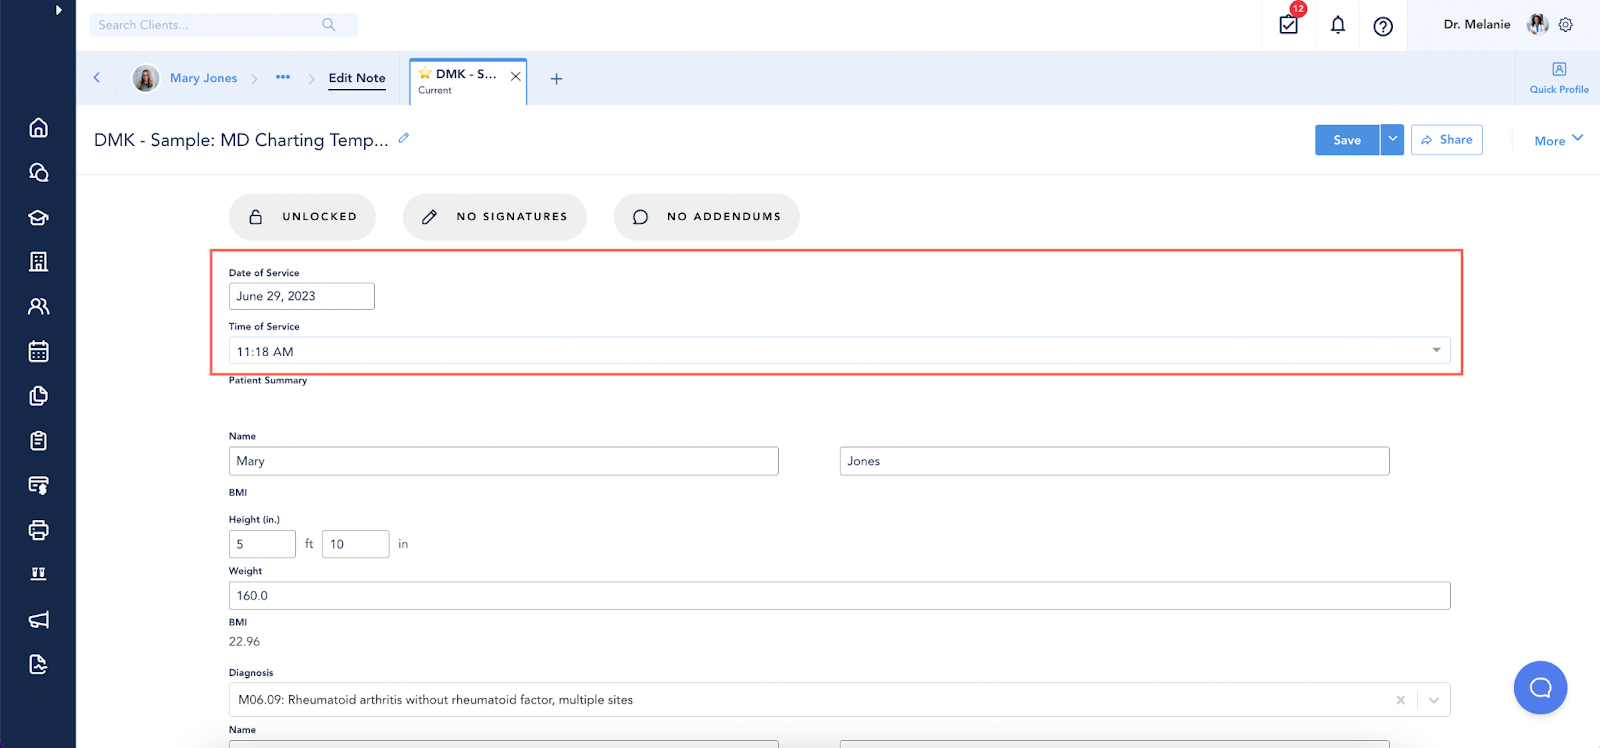
When creating a new note, it will automatically populate with the current date and time. Prior to saving your note, ensure the date and time of service of the chart note fall within the allotted time of the associated appointment.
Learn more: Create a Chart Note
Care Coordination Flow (Using Chat)
Healthie Chat enables providers, care coordinators, and support staff to communicate with clients in a secure, HIPAA-compliant manner.
Here are some tips when using Chat across a care team:
Admins: Ensure member permissions are enabled
Account admins can manage the permissions of each team member, enabling/disabling chat access where appropriate. In order for a team member to be added to a chat conversation between a provider and client, please make sure the following permissions are enabled for their member account:
- Can add other org members to Chat conversations
- Can access all Chat conversations of all org member

Be Collaborative with Chat
Chat can be used in several ways:
- Directly between a provider and a client or a group of clients
- Internally between team members
- Collaboratively with 2+ team members and a client (ie. a provider, office administrator and a client).
When using Chat collaboratively, support staff are able to respond to client inquiries on behalf of other team members (ie. the healthcare provider) - all with complete transparency to the client.
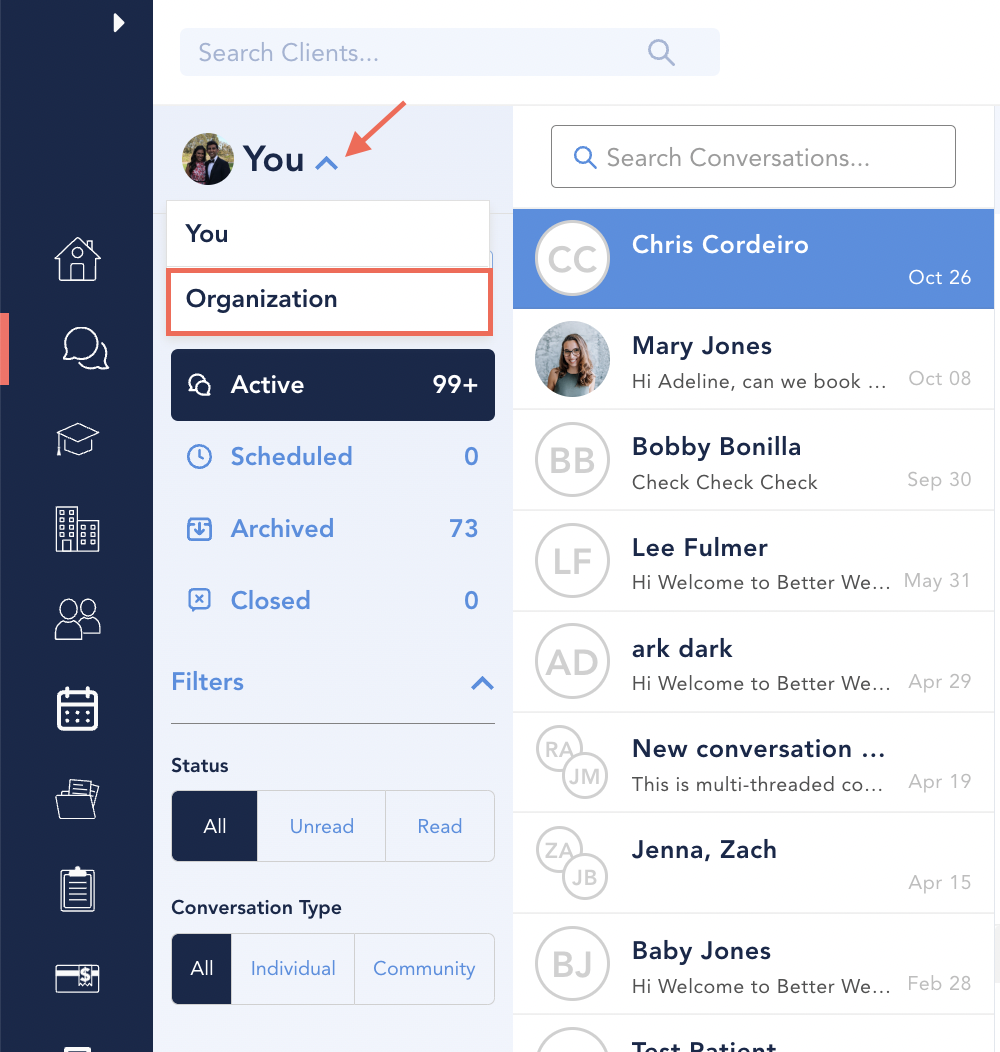
To use Chat in Organization view:
On the Chat page, click the dropdown in the top right to go from “You” to “Organization.” You can then respond on behalf of the provider in existing Chat threads. In order to participate in the conversation yourself, the provider would need to add you as a participant.
Learn more about responding to a Chat on behalf of a team member: Organization Member Collaboration in Chat
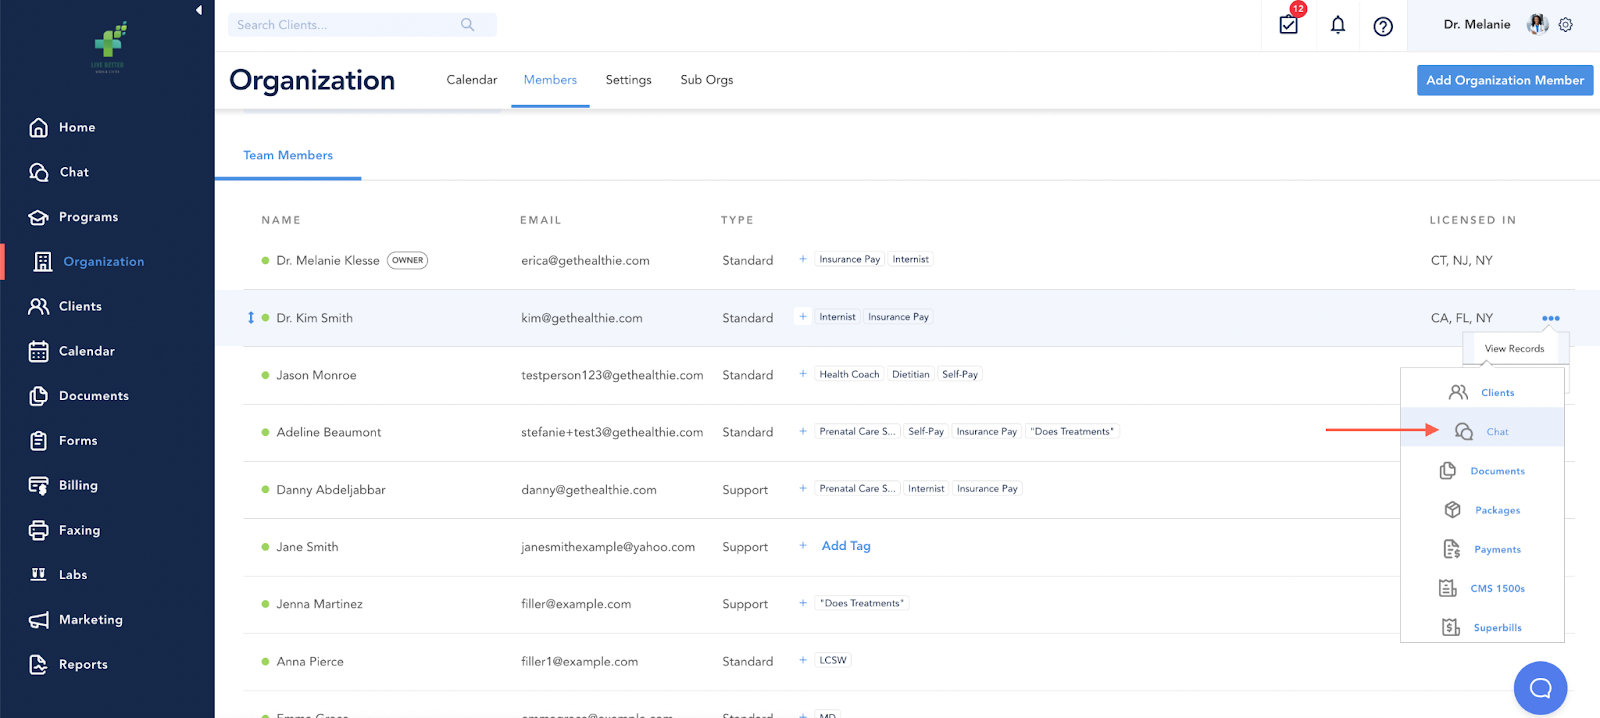
Account admins are able to view/audit team member chats through their Member Records. They can also send a Chat from the Member Record view.
- Go to Organization tab > Members
- Click the [...] next to the member > Select view records
- Select Chat.
If you send a Chat message through this method, the message will show as sent by you (i.e not on behalf of the provider).
Learn more about reviewing member records here: Admins Viewing Team Member Activity
Billing and Coding Flows
This workflow involves the documentation of clinical procedures and diagnosis codes that are used for billing purposes. The physician or medical coder can assign the appropriate codes based on the diagnosis and treatment provided.
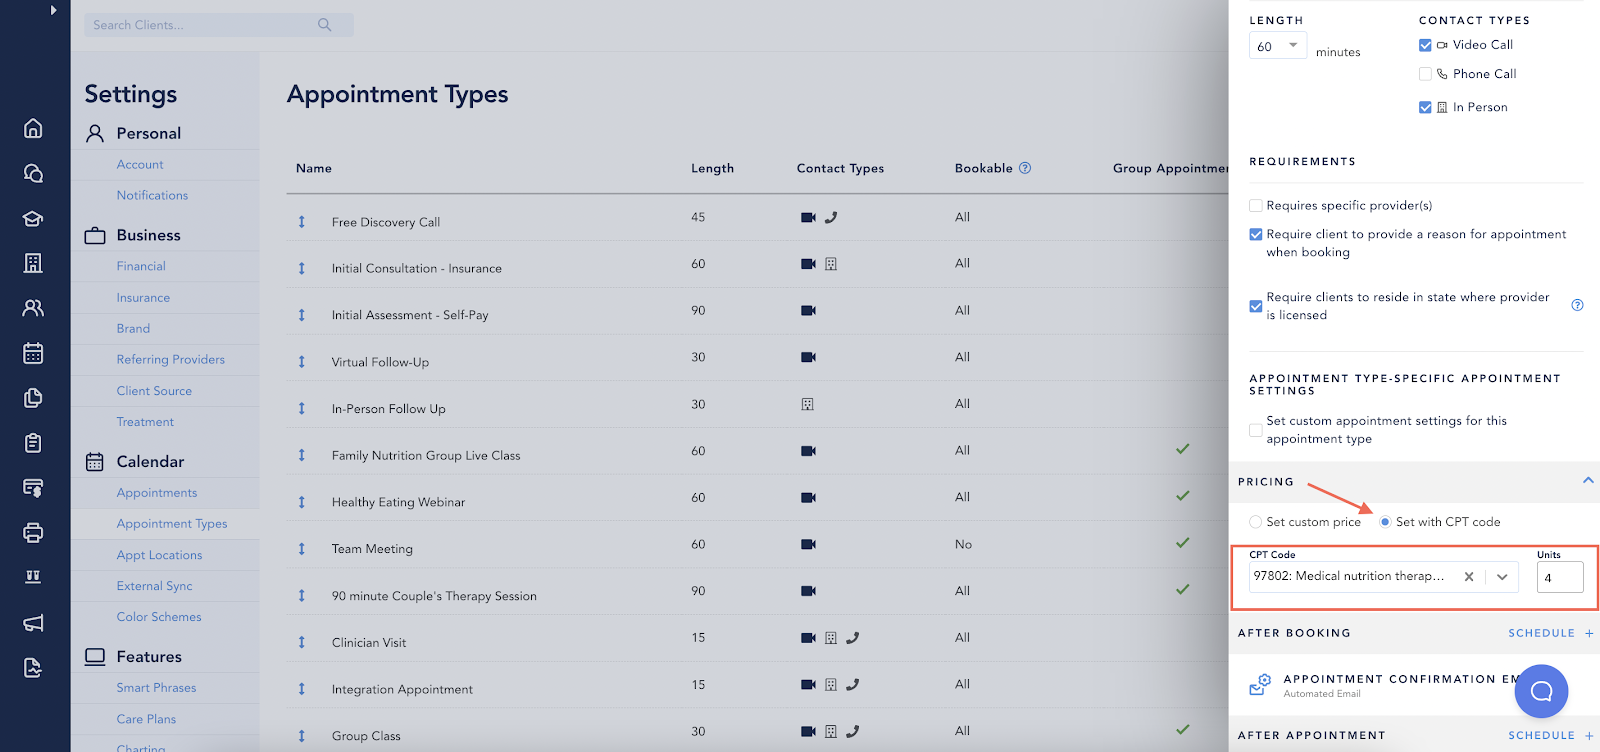
Insurance billing workflows like this can be automated within Healthie, as CPT codes can optionally automatically apply to specific appointment types - and even have a rate associated with them. Insurance claims can then populate with the relevant CPT code and billing rate.
Learn more: Insurance Billing Automations
Referral Management Flow
Healthie has a variety of features in place to support you as you build your referral network. Run through our checklist to be sure you’re leveraging the features available and to read our best practices for building your referral network using Healthie.
There are a few different options to manage client referrals. You can utilize Healthie forms to have a referring physician fill out information on behalf of the client. After creating a form with the information you would like to gather on your new patient, you can use the Share & Embed option in forms to either embed the form on your site or copy a link to share directly with the provider.

You can also use Healthie E-Fax, which is a HIPAA compliant way to share patient information, including forms. You can do this by viewing the form and downloading a PDF version. Then enter the faxing option in Healthie and select “Send Fax”. From there, you can upload the PDF version of the form from your downloaded files and send it to the referring provider.
Learn more: Using Healthie to Build a Referral Network
Intake and Charting Flows
As part of automating client onboarding, Healthie will automatically send new client paperwork for clients to complete electronically. A series of electronic forms are considered an Intake Flow, and you can assign different intake flows for different client groups.
Clients can securely complete their intake flow forms, which are stored within Healthie for providers to review at any time.
A few time saving tips for intake forms:
- Build an intake form leveraging Healthie’s s smart fields, which will then populate client captured data across the platform and in subsequent client forms (ie. client name, date of birth, allergies, medications, and much more). This will save providers time while charting, and also ensure consistent and reliable information is populated.
- If you organize your clients into groups, build forms and intake flows that will be specific to that group. For example, you may want to have your discovery clients complete different forms from paying customers attending an initial consult.
Let’s walk through how to create a client group, and assign an intake flow:
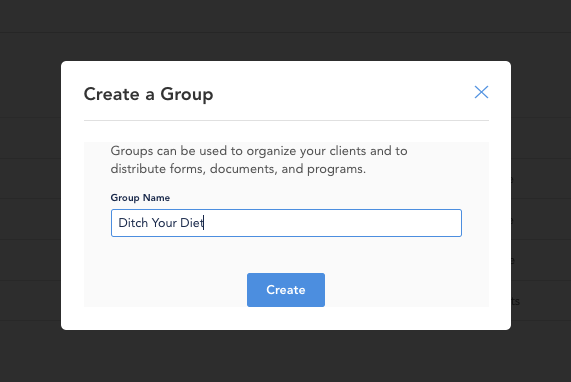
1. Create a Client Group
- Create Group
- Navigation Bar→ Clients
- Clients Groups→ Create a Group→ Add the Group Name and click ‘Create’ (clients will not see the group name)
Learn more: Getting Started: Client Groups
2. Create an Intake Flow
- Navigation Bar > Forms
- Intake Flow > Create Intake Flow
- Write the ‘Name’ of the Intake Flow and you can add which group you would like to use this intake flow.
- Once you select the Group, let’s click ‘Create’
- Select forms to add to your Intake Flow - these can be default forms included in your Healthie library (ie. HIPAA Agreement) or custom forms you’ve built using the Form Builder tool.
Learn more: Getting Started: Intake Flows

Client Treatment Flows (Using Care Plans)
Healthie Care Plans are used to help create best practices for your providers on care for clients. You can apply common protocols and methods of care for your organization, ensuring consistent care recommendations. You can add treatment recommendations, educational documents, goals, and more to your Care Plan, which can be shared with a client. Save Care Plans as a template as a time-saving tip.
- Care Plans can be set-up from the client profile and selecting CARE PLANS
- Click Create a Care Plan
The Care Plan will REQUIRE a title and description.
From here you can add in Nutrition or Activity recommendations, upload documents for the patients to view, create goals for tracking in the platform, and apply specific settings for the Care Plans.
- Add Recommendation
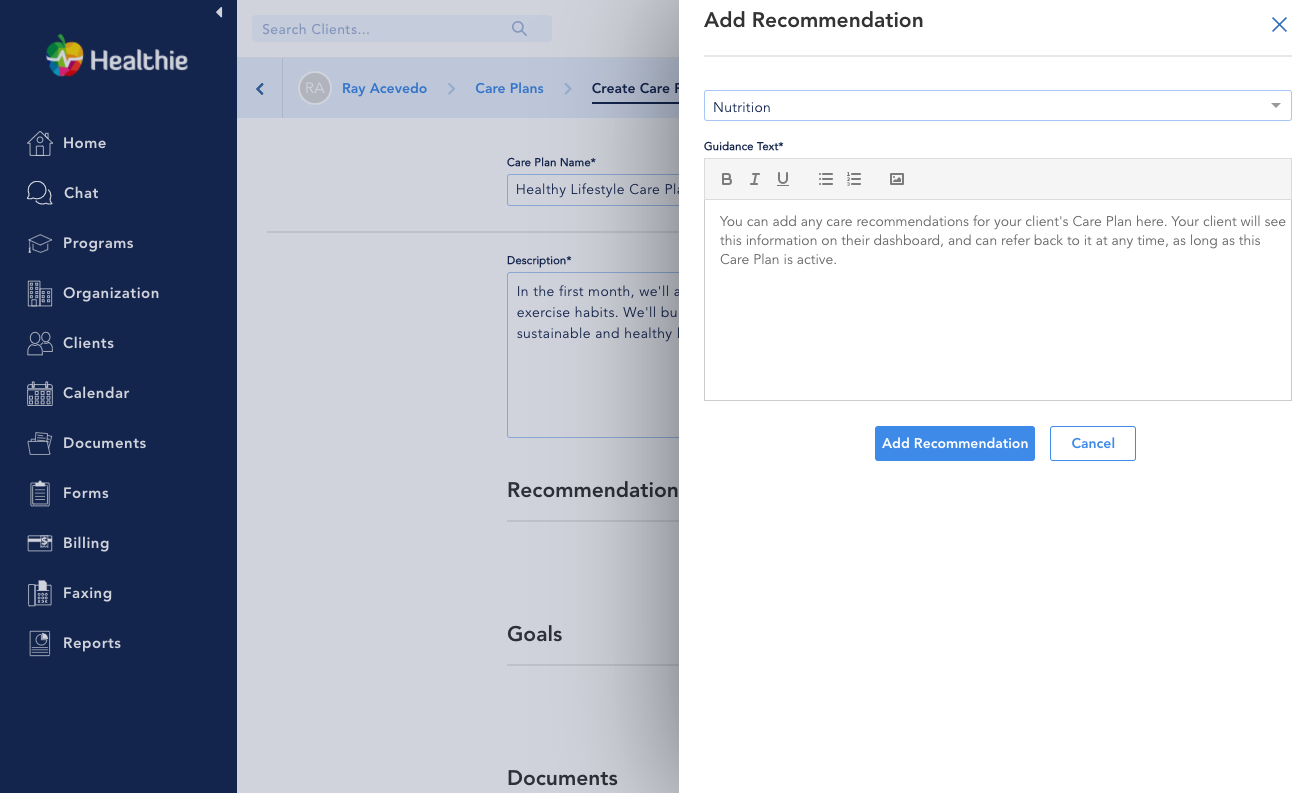
- Here you can add (and later modify as needed) recommendations for you client
- This includes: Activity, Nutrition, Supplement, and a field for any OTHER items you with to add into the care plan
- Additionally, you can add from the patient’s chart notes
- You can click “+ ADD GOAL” in the patient profile to create goals for them
- I.e. - drink 8 oz of water, eat a healthy snack, etc.
- The goals can be set to s specific frequency (i.e. - daily, weekly) and also be set to remind clients of their goals
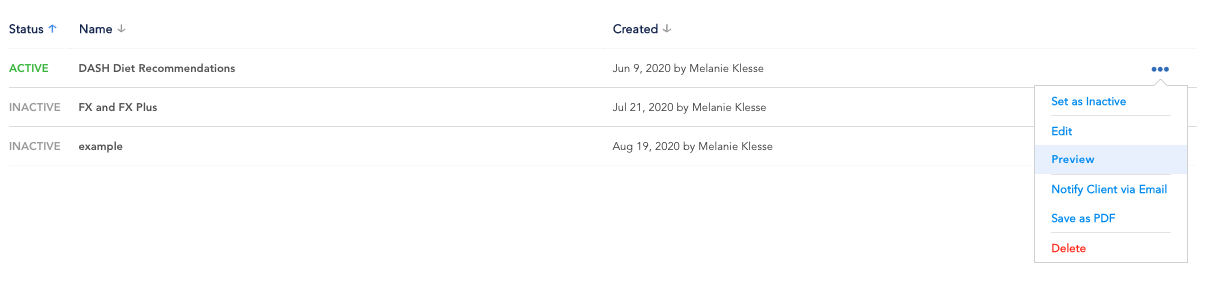
Once you’ve worked through the Care Plan creation, you can preview what you’ve created. You’ll need to Set a Care Plan as ACTIVE for a client to see it, which they can do by logging into their Client Portal account.
Learn more: Getting Started: Care Plans
Patient Education Flows (Using Documents)
Adding Documents into the platform can help providers share information through the platform. These can be meal plans, handouts, worksheets, and various other documents that can be manually, or automatically, shared with clients. Build a repository of content for your team to leverage. Once shared with a client, they are able to access Documents (and upload private documents) from their Client Portal on both the web and mobile app.
Supported file types include:
- Documents (.doc, .docx)
- PDFs
- Excel (.xls, .xlsx, .csv)
- .mp3
- .mpeg
- .mp4
All accounts receive unlimited storage for documents, but there is a file limit size of 50MB.
Once uploaded, you can sort through this by using the drop down for “TYPE”
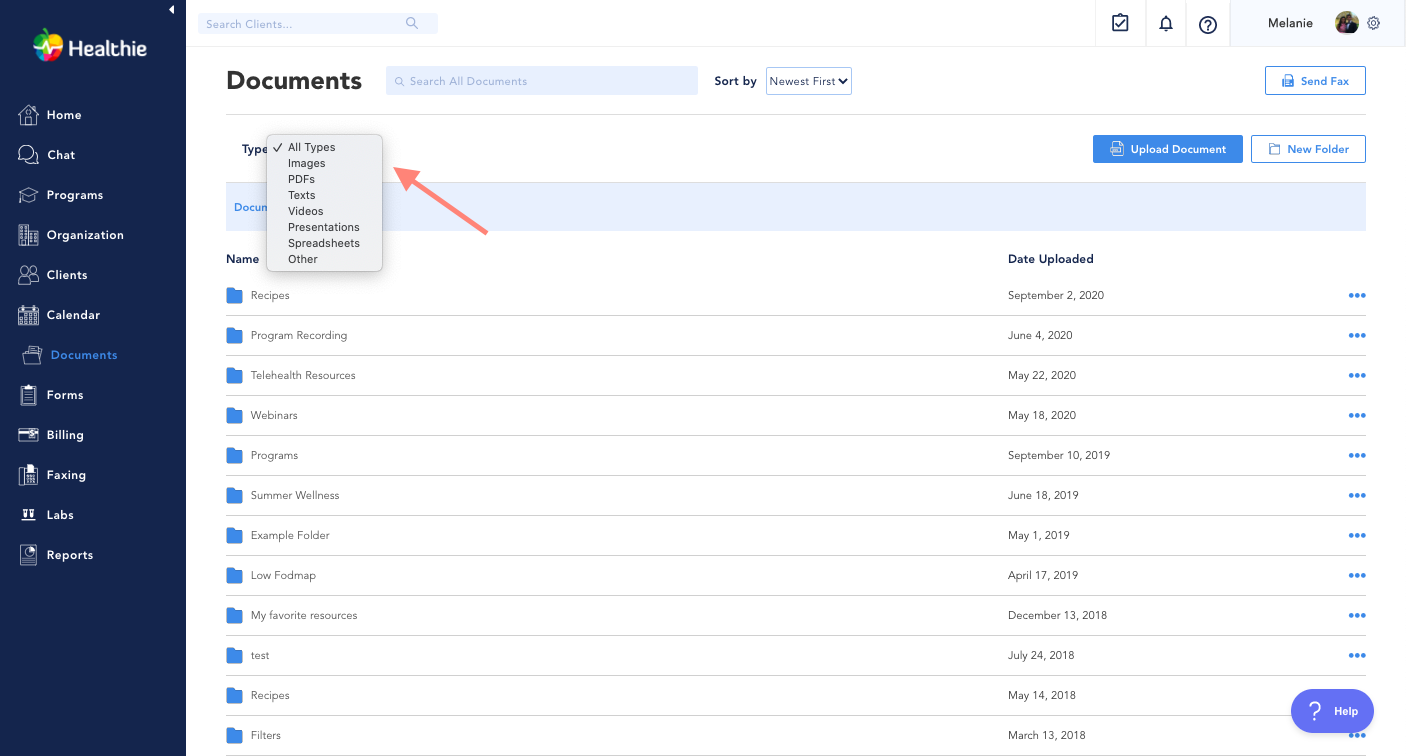
You can add new documents, by navigating to the documents section and selecting “Upload Documents”

You can upload individual documents from that Upload Document button. To upload bulk documents, you can drag and drop from your task manager into the documents section. You can also send a .zip file to hello@gethealthie.com for additional help.
Learn more: Getting Started: Documents
Medication Management Flow (using DoseSpot)
If prescribing medications is part of your clinical practice, E-Rx can be enabled for your provider account for an additional monthly subscription fee. Healthie integrates with Dosespot to bring prescription services directly within the platform, leveraging SureScripts for pharmacy connections.
With Healthie's E-Rx feature, providers can:
- Manage and create prescription orders for clients
- Enter Rx information into a client's profile within Healthie
- Select a client's pharmacy of choice (currently limited to the US)
- Securely transmit Rx orders to client's pharmacy of choice
- Enable the pharmacy to fill the medication
- Print prescriptions for a client
- Collect and transmit client allergy information
Learn more: Getting Started: E-Rx